Hopscotch is a popular game for kids of all ages and can be spiced up for older kids too. It’s easy to learn and never gets boring because there are so many ways to play.
If your kids are just starting out, you can teach them the basic rules of hopscotch.
Once they get the hang of it, they can stick to the traditional game or try different variations.
They can even get creative and come up with their own ways to play. Whether they use a standard hopscotch layout or design a new one, it’s all about having fun!
Let’s Get To Know The Rules
Hopscotch is loved worldwide because it’s simple to set up and fun to play. Here’s how to teach it to kids who are new to the game:
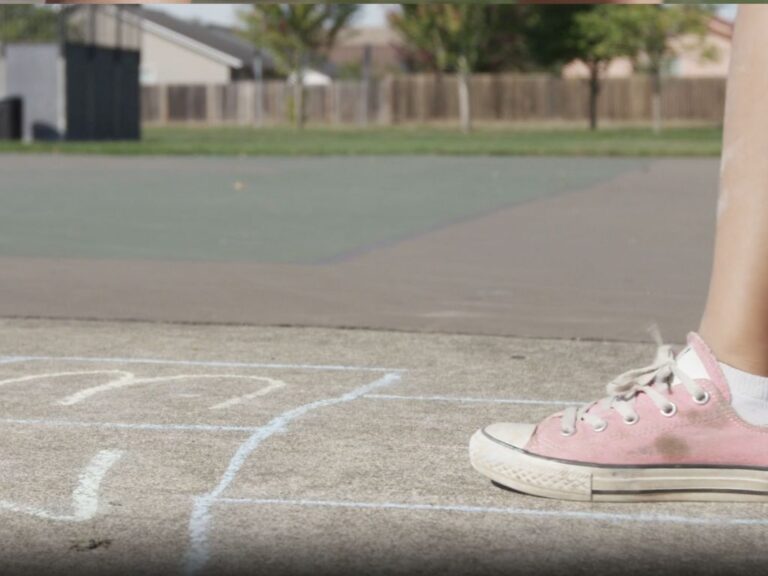
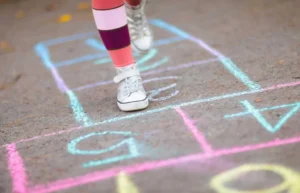
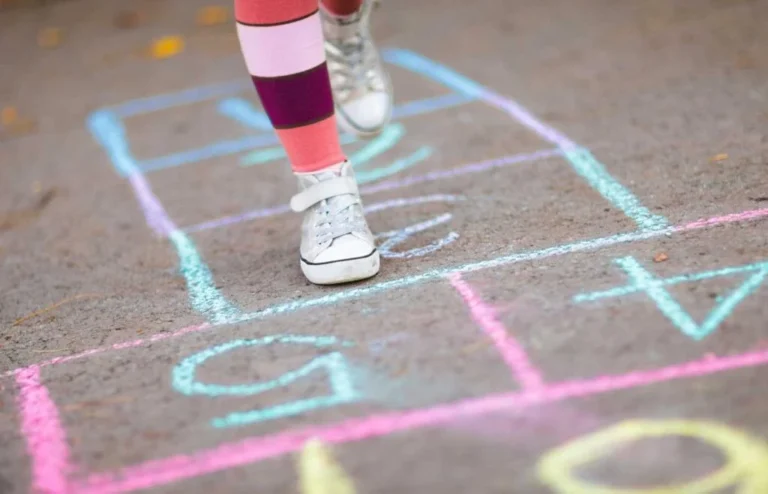
- Start by drawing a hopscotch pattern on the ground. You can use chalk on a sidewalk or driveway. If you’re inside, masking or painter’s tape works well too.
- Toss a small object like a stone, twig, or beanbag into the first square. Make sure it lands inside the square without touching any lines or bouncing out. If it doesn’t, you lose your turn and pass the object to the next player.
- If your object lands correctly, hop into the first square on one foot. Continue hopping on one foot into each square in order. Skip the square that contains your marker.
- In squares that are side-by-side, like 4-5 and 7-8, land with a foot in each square.
- When you reach the end of the pattern at square 10, land with both feet, turn around, and hop back.
- When you get to the square with your marker, pick it up (still on one foot!) and finish hopping to the start.
- If you complete the course without any mistakes, you’ve finished that round. Pass the object to the next player. On your next turn, aim for the next square.
If you step outside a square or miss picking up the marker, you lose your turn and repeat the same number in your next turn. The first player to finish the course up to the final square without any mistakes wins, This includes tossing the marker into each square in numerical order
Fun Fact: Hopscotch is a classic game usually played outdoors, but it can easily be brought indoors too. If you’re inside and have a flat surface available, just grab some masking tape to lay out your hopscotch course. This way, you can enjoy the game rain or shine!
Is It Good for Your Kids?
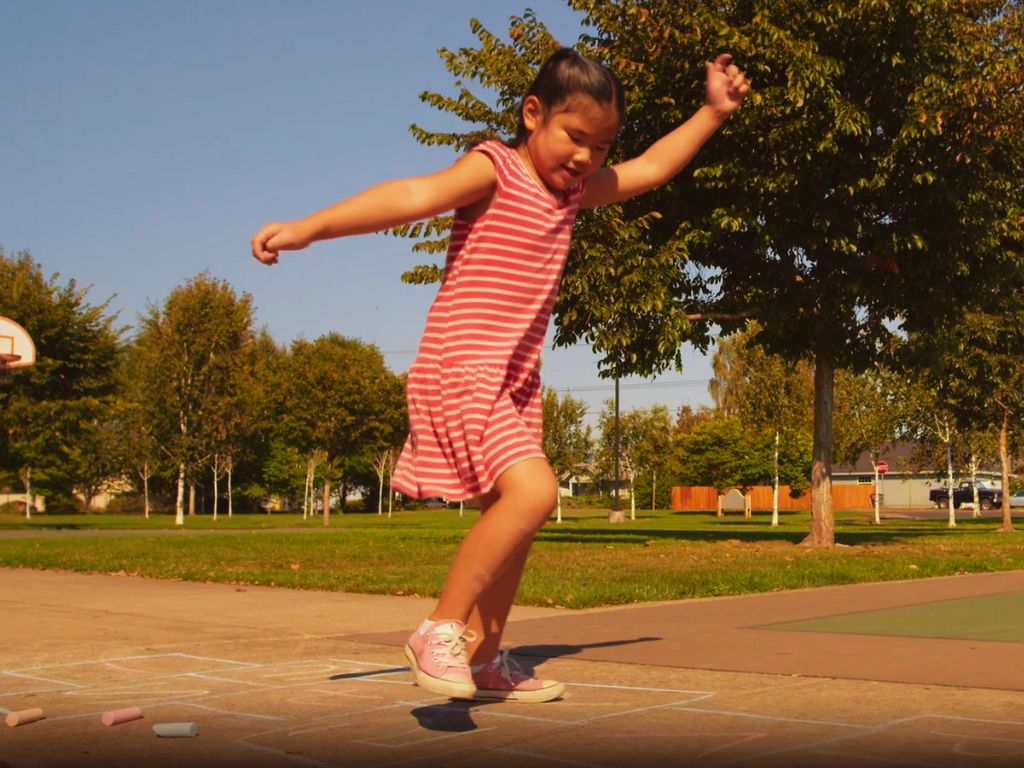
Playing hopscotch is not only entertaining but also packed with numerous health and wellness benefits for children. Typically played outdoors, it offers kids a chance to enjoy fresh air while engaging in playful activity on a playground or similar space.
Hopscotch helps enhance agility and gross motor skills as kids jump and hop through the squares. It also boosts their focus as they navigate the course. The game encourages social interaction and teamwork when played with friends, providing a break from screen time and promoting physical activity.
These elements of play are known stress relievers. Additionally, the constant movement involved in hopscotch gives kids a healthy dose of exercise, further contributing to their overall physical well-being.
5 More Ways How To Play It
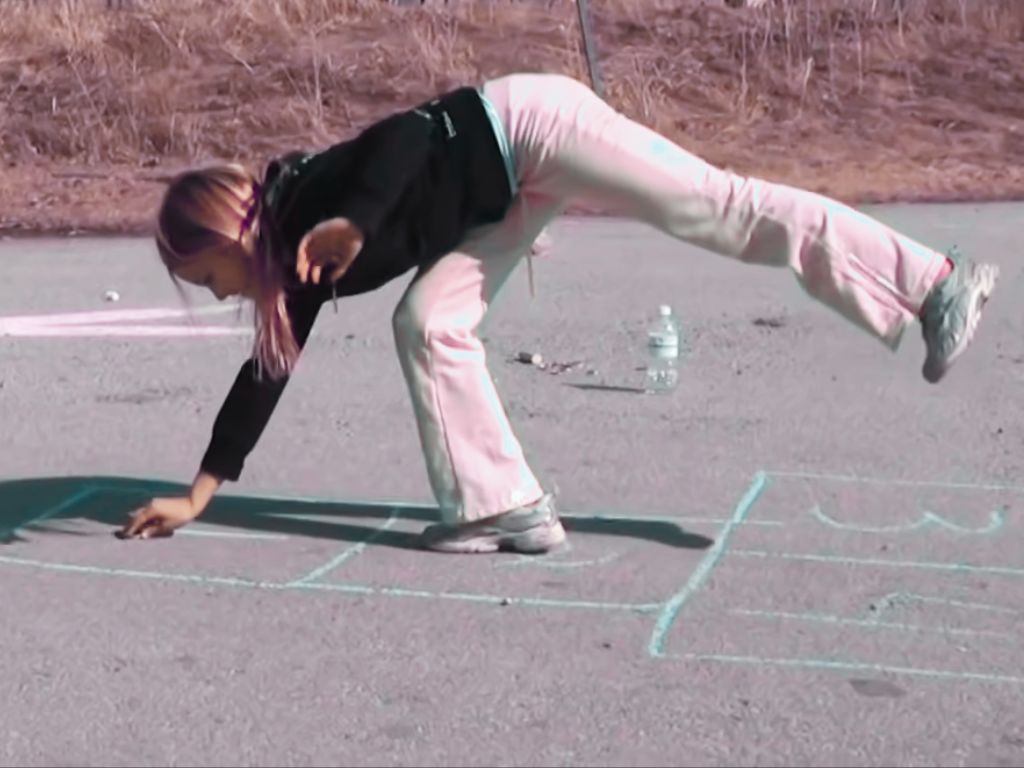
1. Watch the Time
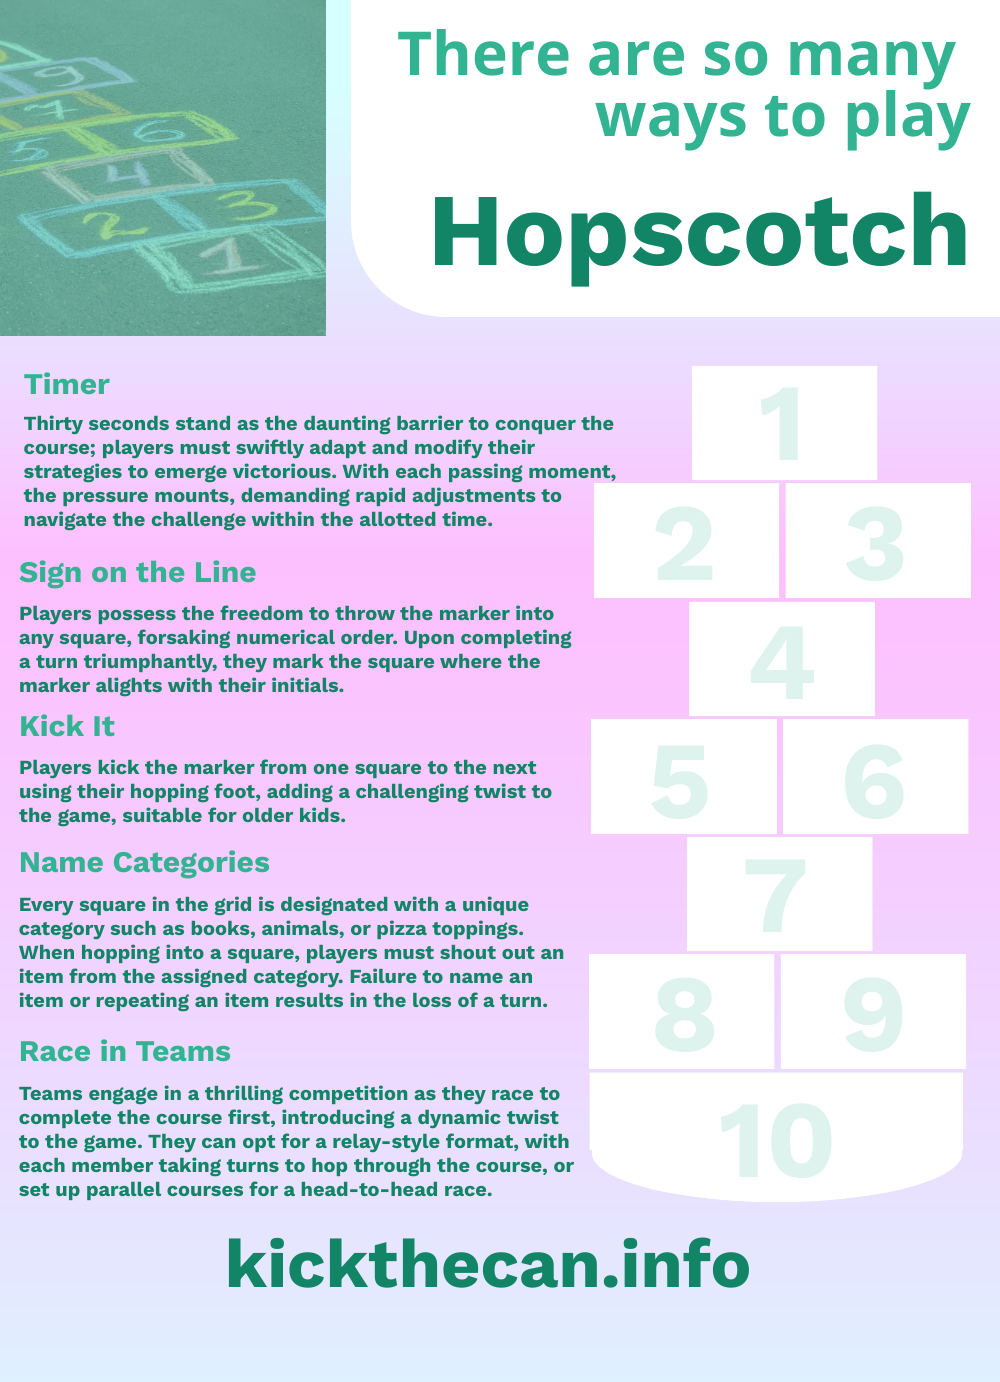
Set a timer for 30 seconds. Players must complete the course within this time limit or lose their turn.
2. Sign on the Line
Players throw the marker into any square, not just in numerical order. After successfully completing a turn, initial the square where the marker landed. The game ends when all squares are initialed, and the player with the most initialed squares wins.
3. Kick It
Instead of throwing the marker, kick it from one square to the next using your hopping foot as you progress through the course. This version is particularly challenging and might be better for older kids.
4. Name Categories
Assign a category to each square (like books, animals, or pizza toppings). When hopping into a square, shout out an item from the assigned category. If you can’t think of an item or repeat an item, you lose your turn. Add extra challenges by setting time limits or requiring responses that start with a specific letter.
5. Race in Teams
Play in teams instead of individually. Teams can race to complete the course first, either by each member taking turns in a relay-style format or by setting up parallel courses for a head-to-head race.
How To Set Up The Basic Court?
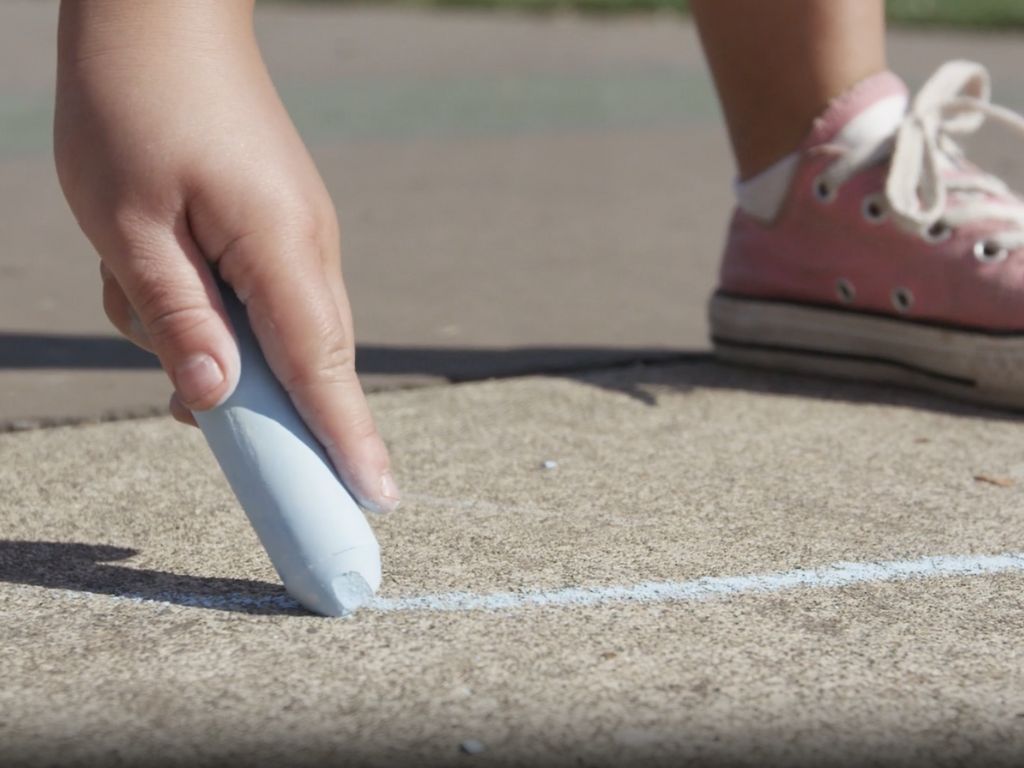
You’ll need a linear arrangement of squares, typically 8 to 10 in total. While you can certainly be creative with your design, the traditional setup is straightforward:
- Layout: Start with square 1.
- Place squares 2 and 3 vertically in line following square 1.
- Arrange squares 4 and 5 side-by-side horizontally, creating a pair.
- Align square 6 directly after the pair, in line with squares 1 to 3.
- Place another horizontal pair with squares 7 and 8.
- Follow up with square 9.
- If you’re using 10 squares, end with square 10, making it slightly larger for easier turning and returning down the court. If you opt for an 8-square design, simply end with square. This layout resembles a lowercase “t” with an extra line, providing a clear path that’s easy to hop through.


